Have you wondered whether is it possible to install pavers over concrete? The simple answer would be…YES, and you can safely lay concrete pavers over concrete base. How bad it can be since both the materials are from same family of cement and concrete.
Then you head over to google and tried search for an answer, and guess what you will get all your answers on the first search page with all the why’s and how’s. But wait, don’t rush into your upgrading work yet. If you notice most of the recommendations (if not all) that you find are from paver manufacturers; and what do you think their recommendations would be.
You’re right…the big YES, YOU CAN LAY PAVER OVER CONCRETE. I am not saying their recommendations and suggestions are bias but may be the information provided are not comprehensive enough.
In actual fact, there are many factors that determines whether the pavers can be laid on the concrete base or not other than just the quality of existing concrete base and height.
Intro
First of all, I got to agree that installing concrete pavers will definitely increases the aesthetic value of the surrounding, whether it’s your home driveway, patio, or driveway in mall areas, public parks, urban driveways, etc. But let us briefly understand the fundamental of interlocking concrete paver and pavement.
The Fundamentals of Pavement with Pavers
The fundamental of concrete pavers design are that they are designed to be flexible pavement. That is why pavers are traditionally laid over crusher-run subbase with sand layer as laying course. The purpose of sand layer is to act as cushioning material to adjust the paver into position over-time with the compaction and traffic load. When the load is applied on paver surface from the moving vehicles, the load is supposed to be transferred to underlying sub-base layers.
Because of this design principles, pavement constructed with pavers able to carry loads from light duty traffic to heavy duty traffic including at port container yards and airport aprons. Another reason for this superior load carrying
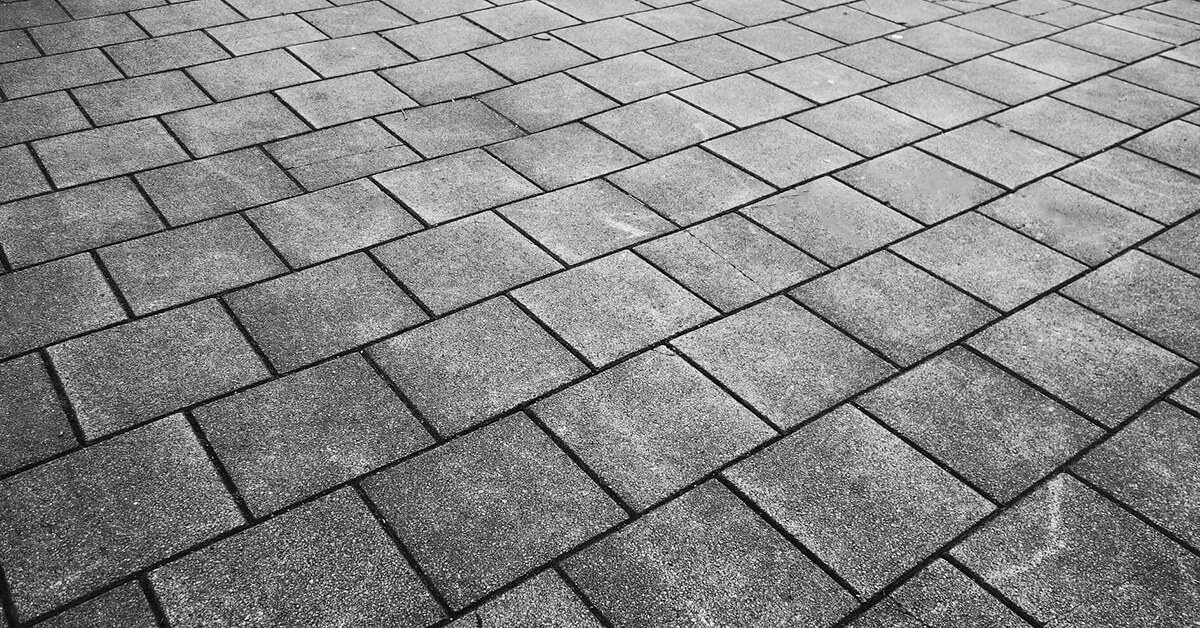
Another reason for this superior load carrying capacity is due it’s interlocking properties. Pavers are laid in a way that it interlocks with the adjacent units. This is achieved in two ways, firstly from the design and shape of the paver units itself where it usually has small spacer that allows the pavers to fit in, and secondly through the paver laying pattern (either herringbone, basket weave, etc.). Once these pavers laid, they create matrix-type (or maybe huge carpet like) surface that able to spread and distribute the loads radially.
That is why in paver laying the edging of the pavement area is very crucial. Because when the loads are dissipated radially through adjacent paver units, it is utmost important to make sure that all the pavement ends are secured properly so that the pavers don’t move and loosen out.
Moving Forward
We will cover more on paver design in another article and let us move on with the original purpose of this post. And you also can find all the guidelines about laying concrete pavers from BS 7533 series of standards.
Alright, you still want to lay pavers over existing concrete base; lets see how you can safely do it. But the laying of pavers over concrete base is still not recommended (actually BIG NO) for heavily (even medium) trafficked area. It is fine for patios and your own home driveways/porch area.
Important Points to Install Pavers Over Concrete
Again, like I mention earlier it is only for patios, gardens, home driveways only.
First start with the site assessment first; make sure the concrete surface that you wish to cover/overlay with pavers are still in good condition. Remember NO pavers (however beautiful the colour is) can substitute the bad base.
Existing Concrete Base:
The concrete base that you wish to overlay the pavers must be in sound condition. That means no cracks, no spalling, no large cracks that may affect the pavement integrity after paver installation. No point laying concrete pavers over bad concrete, might as well rip it off and start fresh.
Slope & Drainage:
This is an important point to be noted prior to starting the pavers laying activity. The existing concrete must slope away from any nearby structures (e.g. house, garage, store front, etc). The slope should not be very steep as this will increase the flow speed during rain and may wash away the joint filling sand.
Apart from creating a slop to drain-away the water during rain; you also should create outlets for water that enter the paver joints and goes to the base. You can drill holes on the concrete base surface to allow the water to seep below the concrete base.
But make sure the holes are covered with Geo-textiles to prevent the laying sand being drained out. All this preliminary effort will ensure that you pavement will not create any puddles during rainy days.
Edging:
In any interlocking concrete pavers installation edging preparation is key to long-term pavement sustainability. You any short cuts here, then I can assure you that your pavement will fail. And this becomes even more critically important when laying on concrete base. If the edging is not secured properly, then the laying sand may drain away during rainy days.
You can purposefully make the edging with wet concrete. However, this would be slightly time and energy consuming as you need to hack the edge of existing concrete and top it up with new concrete to the finished pavers level.
Alternatively, you could use pavers itself to create boundary around your pavement area. This is the most common and easiest method. You just need to fix in the end pavers firmly to existing concrete base; and you can either use cement mortar or concrete adhesive. But I would suggest you use concrete adhesive as it is easier to apply besides keeping the work area cleaner.
Paver Installation:
With the drainage and edging is ready, now you can start the paver installation. First place the loose sand on the concrete base and screed to a height of about 20 to 30 mm, and do not compact the sand. Once you achieve the desired sand level, start laying the pavers from lowest point working upwards.
You can use any pattern you prefer, but just stick to one. Make sure you are aware that your new pavement level will be at least 80mm higher than your old concrete pavement. You got make necessary adjustment so that it does not affect any adjoining structures. Sometimes you need to opt for thinner (shorter) pavers to adjust the level so that it flushes out with surrounding.
Joint Filling Sand:
When you are done laying the pavers, make necessary adjustments to fit the pavers firmly in-place. Now fill the paver joints with sand. Usually we will use joint filling sand complying to the grading as per BS 7533 or BS EN 12620. However, in the case of laying paver on concrete base, you got to make sure the joints are well sealed to avoid (minimize) any water from permeating through the joints.
For the purpose of reduced impermeability, I suggest you use non-pervious polymeric sand to fill the joints. Remember, this is not ultimate solutions, you still need come back and check to make sure the joint sand still there. However, compared to normal filling sand this would definitely last longer.
>> Click here to read about proper joint filling for ICP pavement.
Summary
In this article, I just wanted to highlight that there are more about laying pavers than just buying the paver and arranging it on your existing concrete base. The article covered some basics on how to install pavers over concrete base.